Monster Hunter: World guide: monster hunting basics, combat tips
Since Monster Hunter: World’s PC version was released, we’ve seen a steady string of updates and events to keep players coming back from new monsters to collaboration events. Even after a short time away from the game, it can be rather diffucult to just leap back in for a new side quest or monster fight. So in order to level the skill gap between dedicated and infrequent players, this guide will bring everyone up to speed with what to expect in this deceptively taxing game.
Monster Hunter: World guide
After creating your character and his adorable Palico sidekick, it’s time to venture into the world of Monster Hunter. This isn’t a game where you get instant gratification upon defeating a monster for the first time; you’ll need to do things over, and over, until you have the resources needed to craft better gear for the next big hunt. You’ll soon begin to notice things getting a lot easier.
While we will be going into detail in the subsequent guides on the more complex things about the game, this guide will focus on the things you should know going into Monster Hunter: World. It’s a huge game and the first step is to get a general idea of how the game plays. After all, some things may not be especially obvious when first starting out and they’re not very well explained in-game either.
PC specific guides
Individual monster guides
Free update monster guides
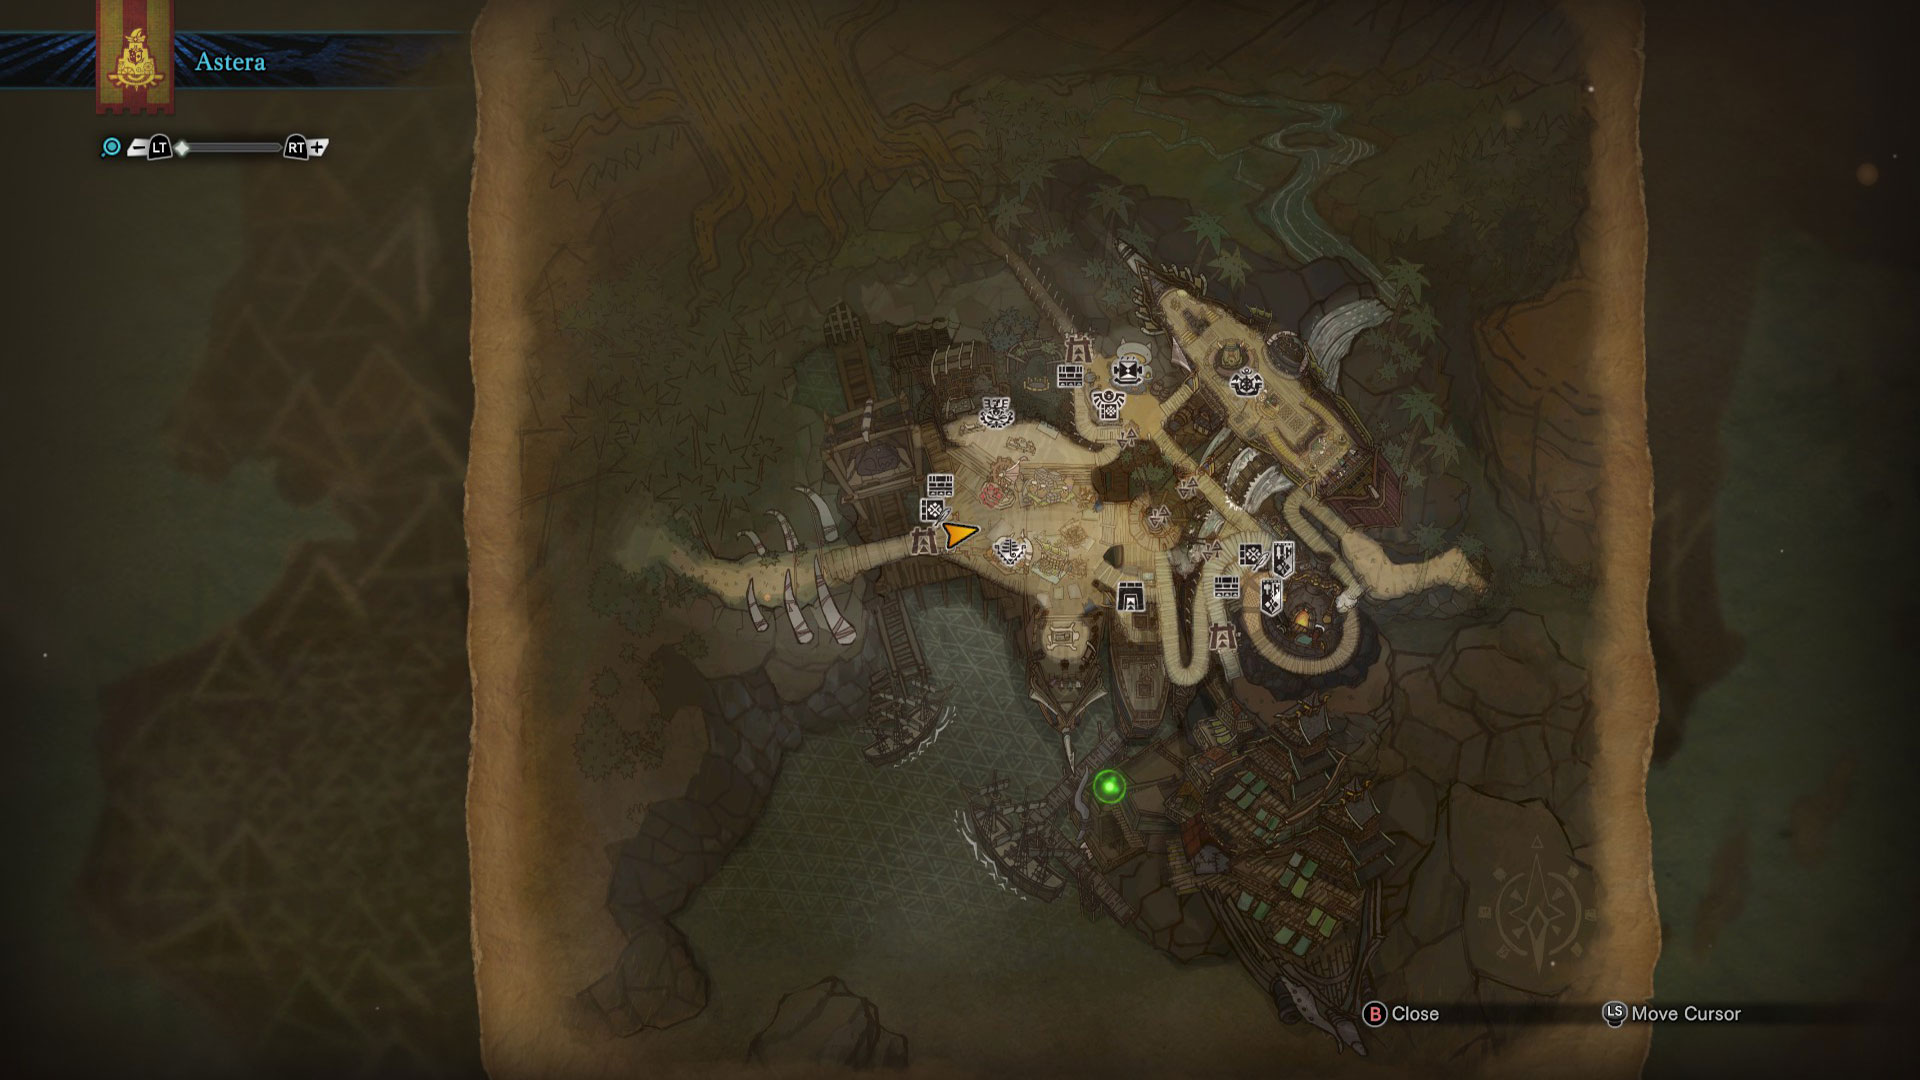
Where to find the armoury in Astera – Monster Hunter: World hub
The main hub area of Astera is a huge, bustling place, full of people plying their trade for that all-important Zenny. It’s therefore a little intimidating for newer players to make sense of what’s on offer. You are shown around a little bit when you start out, with the Smithy and Canteen being highlighted, but everything else is left for you to discover. You can bring up the map and hover over certain icons to show where things are, but accessing them isn’t 100% obvious and not everything is unlocked immediately for use.
On the ground floor is where the Tradeyard is. This includes the provision shop, the bounty request, and a short climb up the stairs to the north are the ecological and botanical research centres. This is also where the big table that has each commander gathered around it, as well as your quarters to allow for accessing the training area and your Palico’s inventory. Eventually you’ll also unlock the ability to transmute items into other items, which will be located nearby the provision shop.
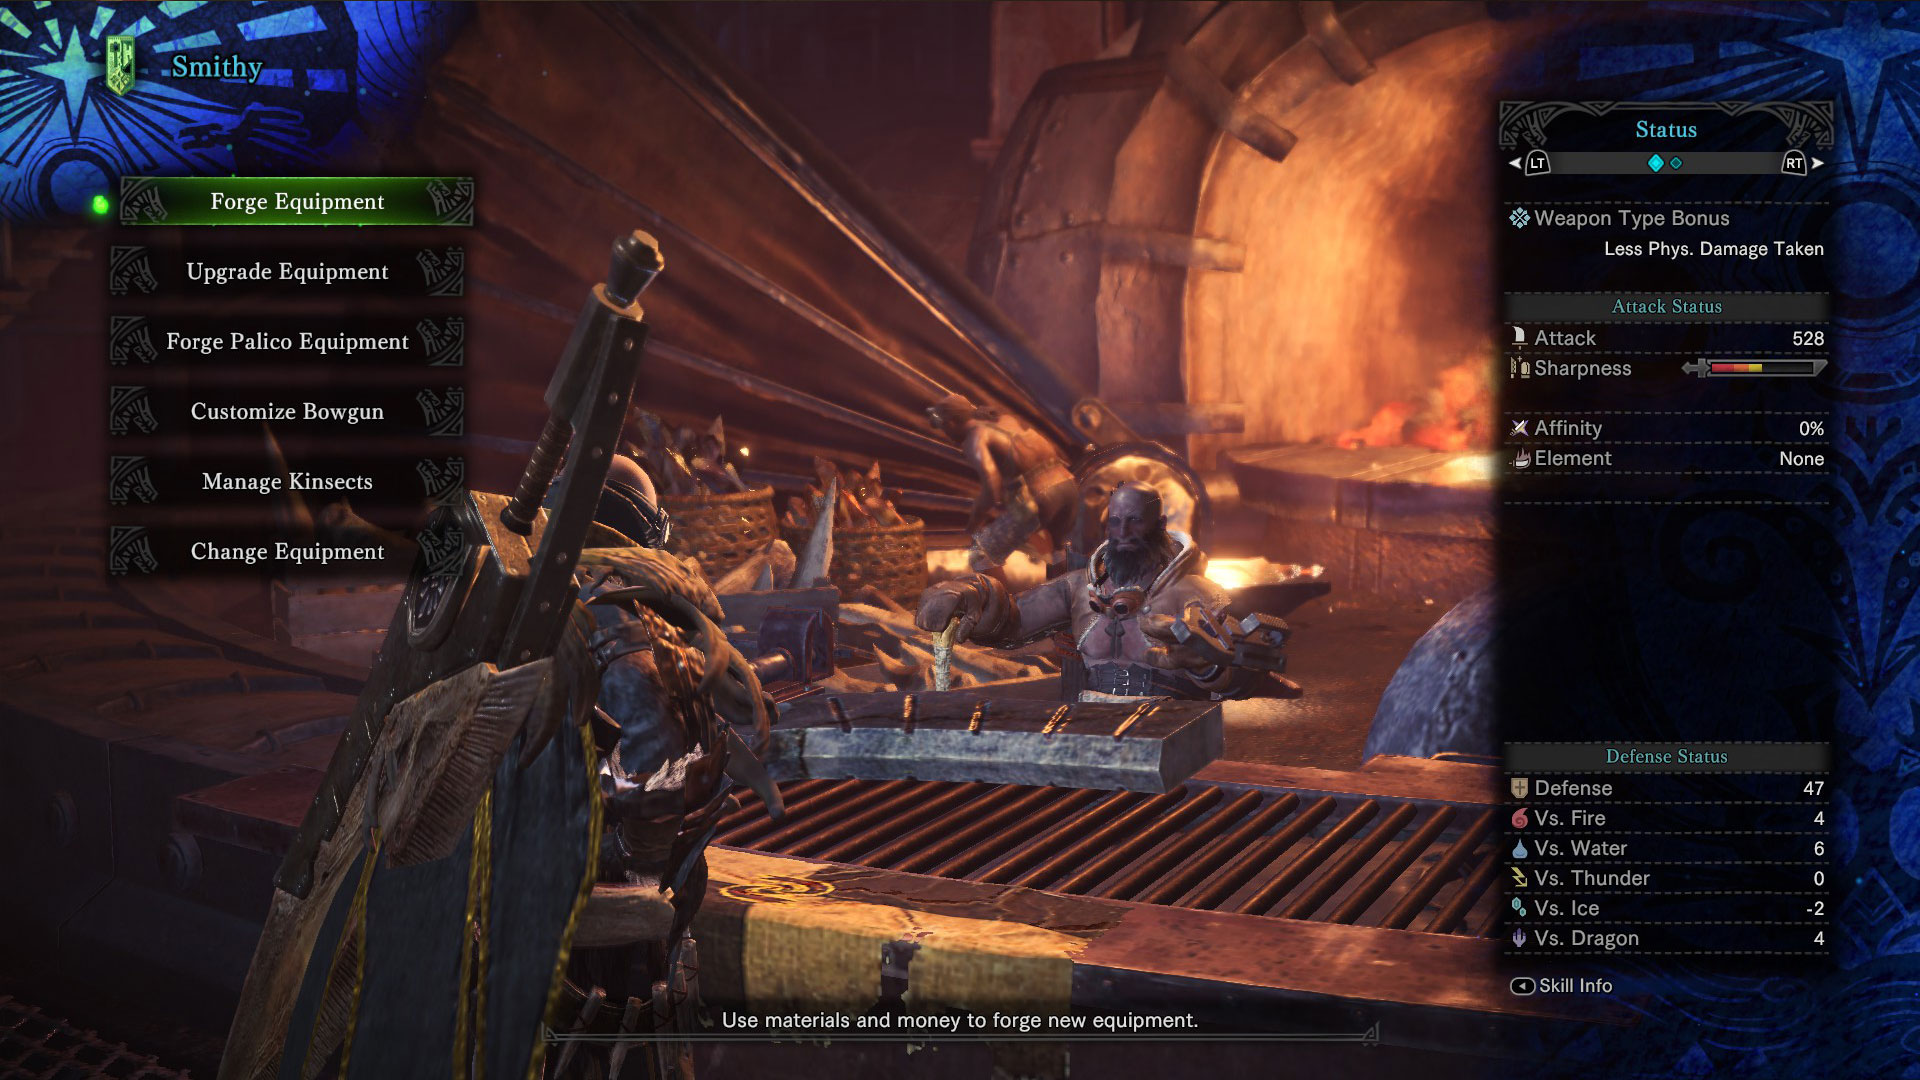
As for where the armoury is, the second floor houses the Smithy and the Armourer and you’ll be spending a lot of time here; crafting new items and upgrading them to be able to take on new and more dangerous monsters. Always check here for if the items you obtained are enough to upgrade your equipment. For more information on weapons, check our Monster Hunter: World combat guide.
Those who are a bit peckish can check out the third floor where the Canteen is. Not only can you grab a bite to eat before your next journey, but you can also complete a few quests to unlock new meal options. This is always the preferred method for getting your grub on before venturing out on a hunt. You can also find your Watcher on this floor.
Up one more floor is the Gathering Hub, where you can interact with other players online, grab a bite to eat together, take on the various Arena challenges, and find your fellow players on the server to go and hunt a certain type of monster.
What’s in the Research Base?
At a certain point in the game, you’ll awaken in some kind of base. This acts as a secondary hub, though nowhere near as packed with things to do. It has its own shop, but the main reason to keep coming back here is the Tailraider Safari. This allows you to send a group of Palico off on their own little expedition at the cost of a little research points. Each safari consists of five acts with stars indicating difficulty, with each focusing on a skill set: Hunting, Gathering, and Research. Matching the squad’s proficiency with the right tasks is the best way to improve their chances of success, thus gaining better loot than if they fail.
However it does become slightly irrelevant when you’ve upgraded your room in Astera, since the Palico attendant will also be able to dispatch Palico adventurers on Safari. You won’t however get that rather adorable cut-scene, so it’s up to you whether the trip is worth it.
Tips for hunting in Monster Hunter: World
Now you know the big things that you need to know going in, there are some smaller details that you should always keep in the back of your mind at all times. After all, there’s nothing worse than being unprepared and making a fool of yourself.
Always be upgrading your gear
First things first, try not to hoard items for upgrades. As soon as you can improve your weapons and armour, do so. Since you’ll be creating a bunch of different ones to combat different strengths and weaknesses of the monsters you’re trying to hunt, it’s best to be prepared. You can always check out our Monster Hunter: World armour guide for more on that. If you don’t have the necessary items required for said upgrade, you may need to go and hunt specific monsters to obtain the ingredients required for each hunt, just be sure to take a look at our Monster Hunter: World materials guide for details on where to find each item.
Always keep your weapon sharp
It may be tempting to just chase after a monster when it flees, but your weapon degrades as the battle goes on. Weapons have a certain degree of maximum sharpness, indicated by the coloured bar in the equipment screen. You’ll want to keep it as high as you can as this will maximise your damage output. There will be times where you need to sharpen weapons multiple times, but it’s worth taking out the time to do so.
Change up your weapons
It may be tempting to choose a particular weapon type and stick with it for the duration of your time with Monster Hunter: World. Don’t. There are weaknesses of monsters that are found out through research, and some include using certain weapon types to do so.
A good early example of this is using heavy hitting weapons on the Great Jagras’s face, forearms, and torso can break them when hit enough, causing massive damage and knocking the creature prone. If you didn’t bring a weapon such as the hammer and instead opted for dual daggers, you’ll never be able to exploit that weakness. Most enemies have multiple weak points and elemental weaknesses, so make sure you prepare for that.
Also, don’t be afraid to learn the flow of combat. Monster Hunter: World’s fighting is methodical at times, so knowing how to strike and how your chosen weapons work is key to mastering the game. You can always check out the training area found in your home to test out weapons to get a feel for how they work, but practising a few lower level hunts with your new weapon is the best way to get a feel for how to use them effectively.

Farm Great Jagras materials for early Zenny
As for obtaining Zenny, a good and easy way to get lots of Zenny early on is to repeatedly hunt the Great Jagras in the Ancient Forest. If you start in the south-west camp, the monster will nearly always be towards the north-east of your position in the open area where the Kestrodon live, as it is their prey. Since each large scale sells for 1000 Zenny, while small scales sell for 500, it’s a good way to get money fast.
Just be aware the sell-all option after each hunt sells everything you get for rewards, including rare items, so make sure you don’t have anything you need before clicking that option. Later on, money isn’t as much of an option thanks to trade-in items that can be regularly brought into Astera, but if you’re short on cash early on, this is a good revenue.
Prepare for each hunt
Preparation is the big thing to always remember before going off on a hunt. Getting into good habits may be the key difference between successful hunts and failing spectacularly. Some of these facilities are unlocked as you progress in the game, so if you don’t have access yet, you’ll have access to them eventually. If you need an aide memoire, try to make a checklist of the following questions.
- Have I eaten yet?
- Do I have the right equipment equipped for the monster I’m hunting?
- Does my item pouch only have what I need?
- Are my bounty slots all filled?
- Have I obtained all the items from the botanical research and Palico safari?
- Have I upgraded my equipment fully for the monster I’m hunting?
- If playing with others, have we agreed on whether to capture or kill the target?
A lot of this will take a few minutes to sort out. Choosing what to eat before heading out on a hunt is a little more involved if you want to get the most out of it, our Monster Hunter: World cooking menu has a full list of ingredients. There may be instances where you need to hunt lower quarry in order to have the right upgrades for the monster you are hunting. Only once everyone is truly ready should you head out there.
Always have a full set of Bounties
In the checklist, I mentioned having bounties all filled before setting out on a hunt. This is so that you’ll always be rewarded for whatever you do and not miss out on items or Zenny that could be used to upgrade certain equipment. If there’s ever a blank slot in your six bounty slots, make sure you fill it. The bounty shop is unlocked after defeating the Great Jagras for the first time, which is an early story quest. To access it, you’ll need to speak to the Provisions Manager found nearby the Provisions shop.
Gotta catch ’em all
I go into more detail in our Monster Hunter: World capture guide, but generally speaking there’s a slim chance of obtaining rare rewards for capturing a monster rather than killing it. There are however some obvious downsides, but learning how to capture a monster early on is advantageous. It also contributes more to researching that monster for future hunts. There are however certain monsters, such as the Elder Dragons, that you can’t capture, so be sure that what you’re fighting can be captured in the first place before attempting to do so.
How to make unwanted monsters go away
There will be times, particularly when fighting against higher ranked monsters, when another monster comes in to ruin the fun. Sometimes it’ll fight your target, while others it will assist it against you. This isn’t so much of a problem early on, with some attacks even weakening monsters or making them drop materials. However, when you have a Bazelgeuse harassing other monsters that you’re targeting and catching you in the crossfire, maybe flinging some dung isn’t such a bad idea. Dung, if it is thrown against the interrupting monster, has a chance of making it run away; probably due to the embarrassment of smelling so bad. If you’re going after targets where this is possible, make sure to have some dung available.
That’s all the tips we have to share for now, but keep checking back as our coverage continues with more individual monster guides still to come when the game’s next few updates drop. We’ll also be tackling Arch-tempered monsters and the differences they bring when the time comes.
[ad_2]
Source link